5部Lynda系列的Cinema 4D教程
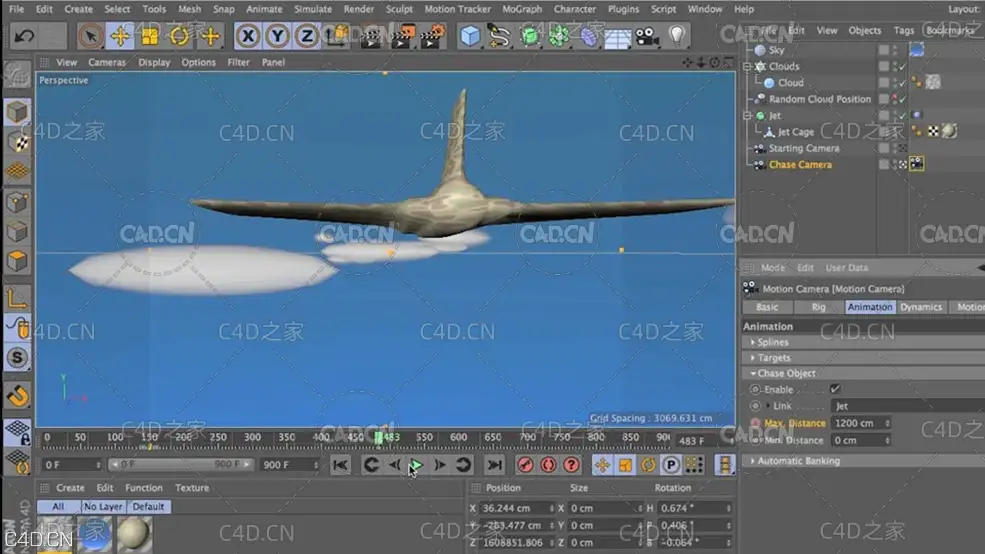
一、C4D摄像机动画Watch the Online Video Course Camera Animation with CINEMA 4D 
Camera moves can elevate any project, from effects-laden video composites to simple static models. Here Donovan Keith shows how to adjust camera placement and motion in CINEMA 4D in order to increase the impact of your visual storytelling. Watch as he shows how to animate simple pans and push-ins with keyframes, build custom camera rigs, and mimic classic camera moves from film and television with the Camera Crane, Motion Camera, and Camera Morph objects. At the end of the course, you'll be able to pick the right movement for the shot, move cameras in a physically plausible way, and adjust the timing of your animation for maximum impact.
Topics include:
Animating simple camera moves: pans, zooms, and more
Animating custom camera rigs
Smoothing camera moves with Align to Spline
Simulating first-person point of view
Adding sweeping crane shots
Creating trailing cameras and fly-through shots
Moving the camera with the Camera Morph tag
Introduction2m 38s
Welcome1m 10s
What you should know before watching this course35s
Using the exercise files53s
1. Simple Camera Movements23m 11s
Framing a static shot8m 21s
Animating a push-in with position keyframes3m 20s
Animating a pan with rotation keyframes3m 23s
Enhancing camera moves with F-curves4m 5s
Animating a snap zoom4m 2s
2. Custom Camera Rigs23m 21s
Creating and animating a simple camera rig with a null object5m 39s
Automatically targeting your camera at your subject3m 55s
Adding subtle imperfections with the Vibrate tag3m 13s
Smoother camera moves with the Align to Spline tag6m 7s
First-person POV with the Virtual Walkthrough tool4m 27s
3. Camera Crane and Motion Camera Functions18m 40s
Sweeping shots with the Camera Crane3m 53s
Tracking shots with the Motion Camera tag Spline setting3m 43s
Create a trailing camera with the Chase Object setting3m 2s
Creating a canyon fly-through with Automatic Banking3m 20s
Creating a steadicam effect with the Motion Camera rig4m 42s
4. Camera Morph Functions9m 33s
A-to-B camera moves with the Camera Morph tag2m 57s
Kinetic type animation with the Camera Morph tag6m 36s
Conclusion1m 50s
Next steps1m 50s
二、雕刻硬表面并重新拓扑 Watch the Online Video Course Hard Surface Sculpting and Retopologizing in CINEMA 4D 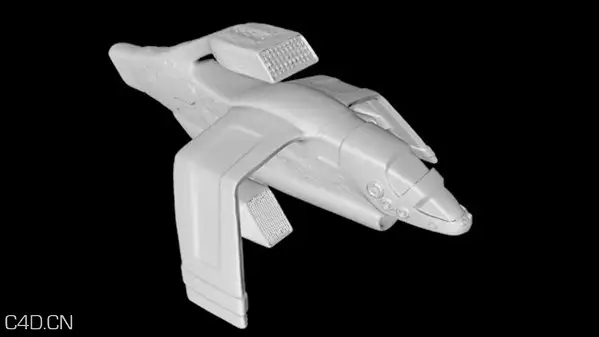
Using CINEMA 4D's sculpting tools, you can create hard surface models without the constraints imposed by traditional polygon and NURBS modeling techniques. Then you can retopologize your sculpt to produce a lighter model more suitable for complex scenes and animation. Your sculpted model becomes, in essence, a frame around which you can build a well-constructed polygon model.
In this course, modeling expert Adam Trachtenberg shows viewers how to use the sculpting tools in C4D to create a hard surface model, retopologize the sculpted model, return to sculpting mode to add fine details, and generate texture maps that approximate the illusion of detail—without the weight of polygons. He demonstrates the steps using a fantasy spaceship model, the kind you'd see in professional video games, television, or feature films. Watch and learn how to use these techniques to build your own.
Topics include:
Sketching the rough form
Building a simple polygon model
Working with C4D's sculpting brushes and masks
Retopologizing the sculpted model
Creating bump, normal, and displacement maps to add fine detail
Introduction1m 47s
Welcome1m 0s
Using the exercise files47s
1. Building the Base Model27m 54s
Why we sketch first7m 24s
Sketching the rough form on paper3m 6s
Sketching the rough form from a cube2m 41s
Employing knife cuts to shape the model5m 30s
Extruding polygons4m 54s
Preparing the base mesh for sculpting4m 19s
2. Understanding Sculpting Brushes and Masks57m 12s
Learning the importance of working low to high5m 14s
Using Sculpt Symmetry3m 29s
Exploring form with the Grab brush3m 19s
Building mass with the Pull and Wax brushes5m 11s
Checking out the Wax brush2m 48s
Exploring the Scrape and Fill brushes2m 37s
Working with the Pinch brush2m 30s
Using the Flatten brush5m 10s
Sculpting layers and using Erase4m 19s
Using masks to create hard surface transitions6m 27s
Modeling session16m 8s
3. Setting the Stage for Retopo Work11m 9s
Extracting the retopo target model4m 2s
Preparing the target model1m 39s
Introducing the Polygon Pen/Create tools5m 28s
4. Retopologizing the Model20m 39s
Strategizing the new topology1m 59s
Creating the new topology5m 27s
Checking the model's integrity6m 28s
Setting up basic UV mapping3m 27s
Adding geometry with standard polygon tools3m 18s
5. Sculpting the Fine Detail36m 38s
Returning to sculpting4m 54s
Cutting in the detail7m 15s
Using spline snapping5m 20s
Using stamps6m 13s
Using stencils6m 23s
Baking out the maps6m 33s
Conclusion32s
Next steps32s
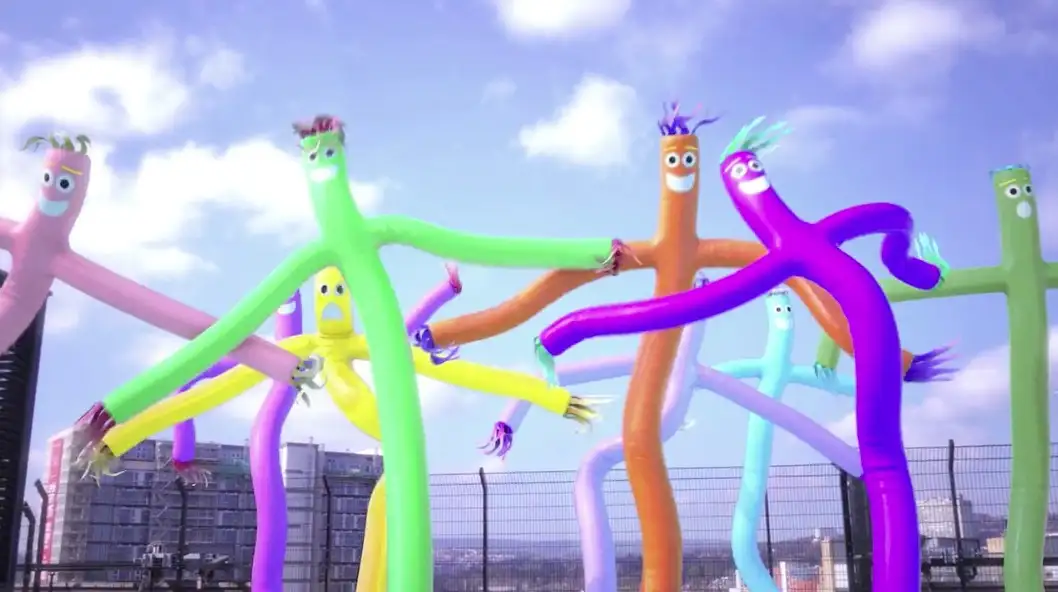
三、用扫描技术建立充气卡通形象 Watch the Online Video Course Mograph Techniques: Creating a Bouncy Cartoon Logo in CINEMA 4D 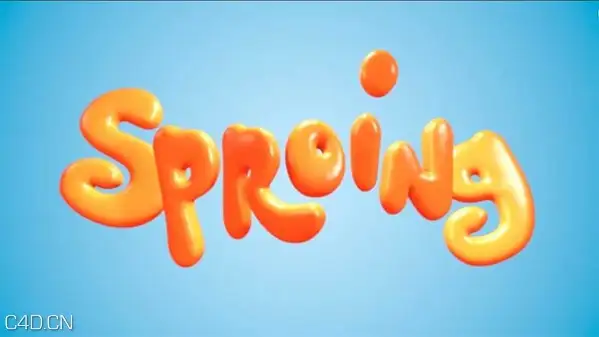
Mograph Techniques is designed to show artists how to work quickly and efficiently while creating something awesome. This installment shows how to create a bouncy cartoon logo under a tight 2-hour deadline. The techniques shown are nondestructive and fully editable, so the effect can be adapted to any text.
Author EJ Hassenfratz uses CINEMA 4D to extrude 3D text from Illustrator letterforms and animate the letters individually utilizing the very versatile Jiggle deformer, which applies fun, unique movements to each one. Then he adds bright, cheerful textures and lighting to the scene, and composites the final effect in After Effects, incorporating some finishing touches that will make your logo seem even more playful and expressive.
Topics include:
Creating and designing cartoony 3D logo type
Preparing text to be animated
Animating with the Jiggle deformer, vertex maps, and other deformers
Adding random, undulating movement
Texturing and lighting the logo
Setting for render
Compositing in After Effects
Adding motion blur and color correction
四、Cinema 4D工作室照明 Watch the Online Video Course Studio Lighting in CINEMA 4D
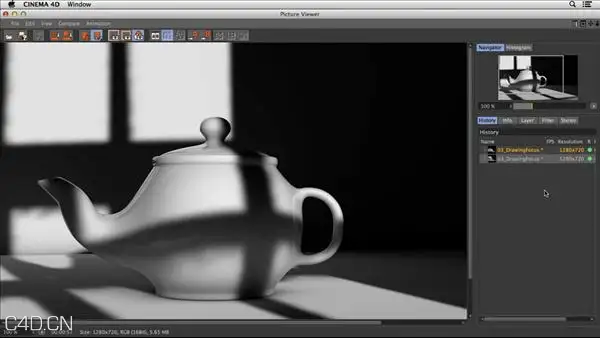
It's not enough to know about the many light types available in CINEMA 4D—you need to know how and where to place them to create a desired effect. In this course, Donovan Keith covers some basic photographic lighting concepts and shows how to turn CINEMA 4D into a powerful virtual lighting studio. Learn how to reveal the form and texture of diffuse objects, and use special techniques for lighting reflective and transparent surfaces. Donovan also shows how to accurately place highlights in order to shape the contours of objects, and use contrasting light and shadow to dramatic effect.
Topics include:
Describing light
Understanding the difference between real light and light in CINEMA 4D
Using lighting direction to reveal form
Adjusting light hardness
Top lighting a subject
Rendering reflective objects
Shooting glass
Separating objects from the background
Hinting at a world outside the frame with gobos
五、CINEMA 4D Bodypaint 入门和提高 Watch the Online Video Course Up and Running with Bodypaint in CINEMA 4D
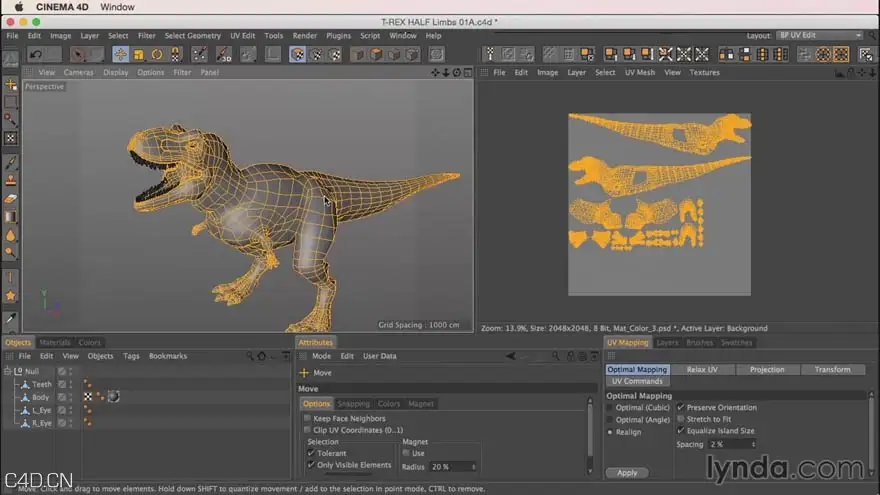
BodyPaint is a subset of tools and layouts inside CINEMA 4D that allow artists to paint and texture their 3D models. These tutorials aim to teach CINEMA 4D users how to use BodyPaint to enhance your 3D pipeline.
Author Thanassis Pozantzis covers a wide set of techniques, from material projections and generating UV maps to UV unwrapping, both for hard surface models (such as packaging and mechanical objects) to organic models (including humans, monsters, and animals). Start here to learn how to incorporate BodyPaint into your production workflow.
Topics include:
Everything you need to know about material projections
Creating and editing UV maps
Setting up a project in the BodyPaint interface
Unwrapping UVs, from cubes to bananas
Hard-surface model unwrapping
Organic model unwrapping
|
|
















 专业级HDR Light Studio 9.1完整破解版+全插件支持3ds Max/Maya/Blender/C4D等主流3D软件Lightmap.HDRLightStudio.8.2.5.2025.0205


Comment :5